SCi 2
Software Control Interface
SCi Software Control Interface is used to remotely configure and control devices via RS-232 or TCP/IP.
SCi 2
Software Control Interface
This control software enables seamless remote configuration and management of compatible devices via RS-232 or TCP/IP.
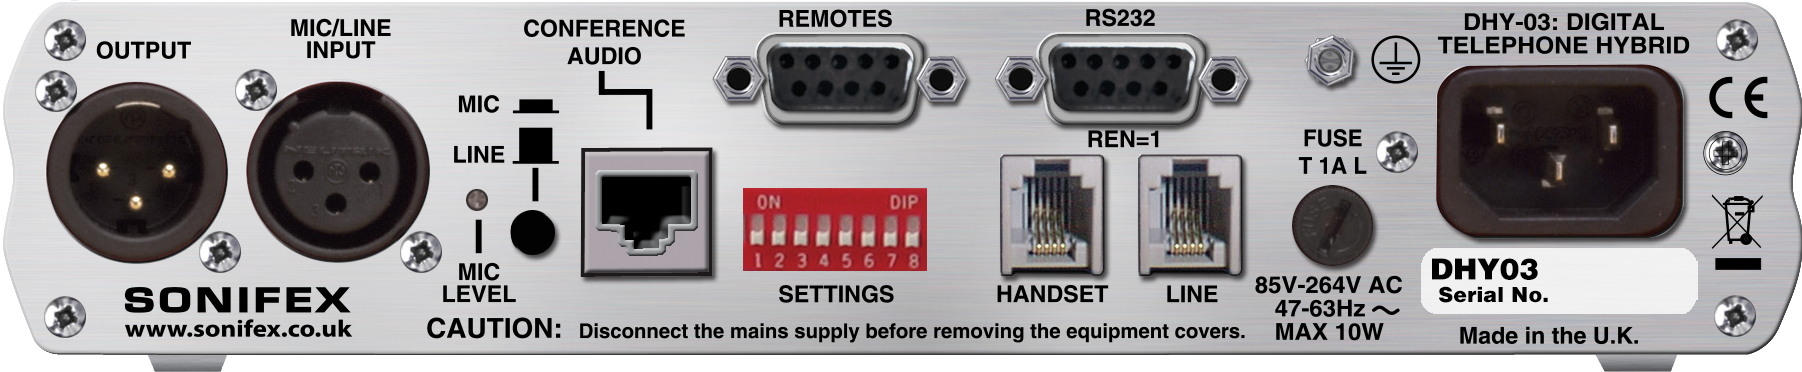
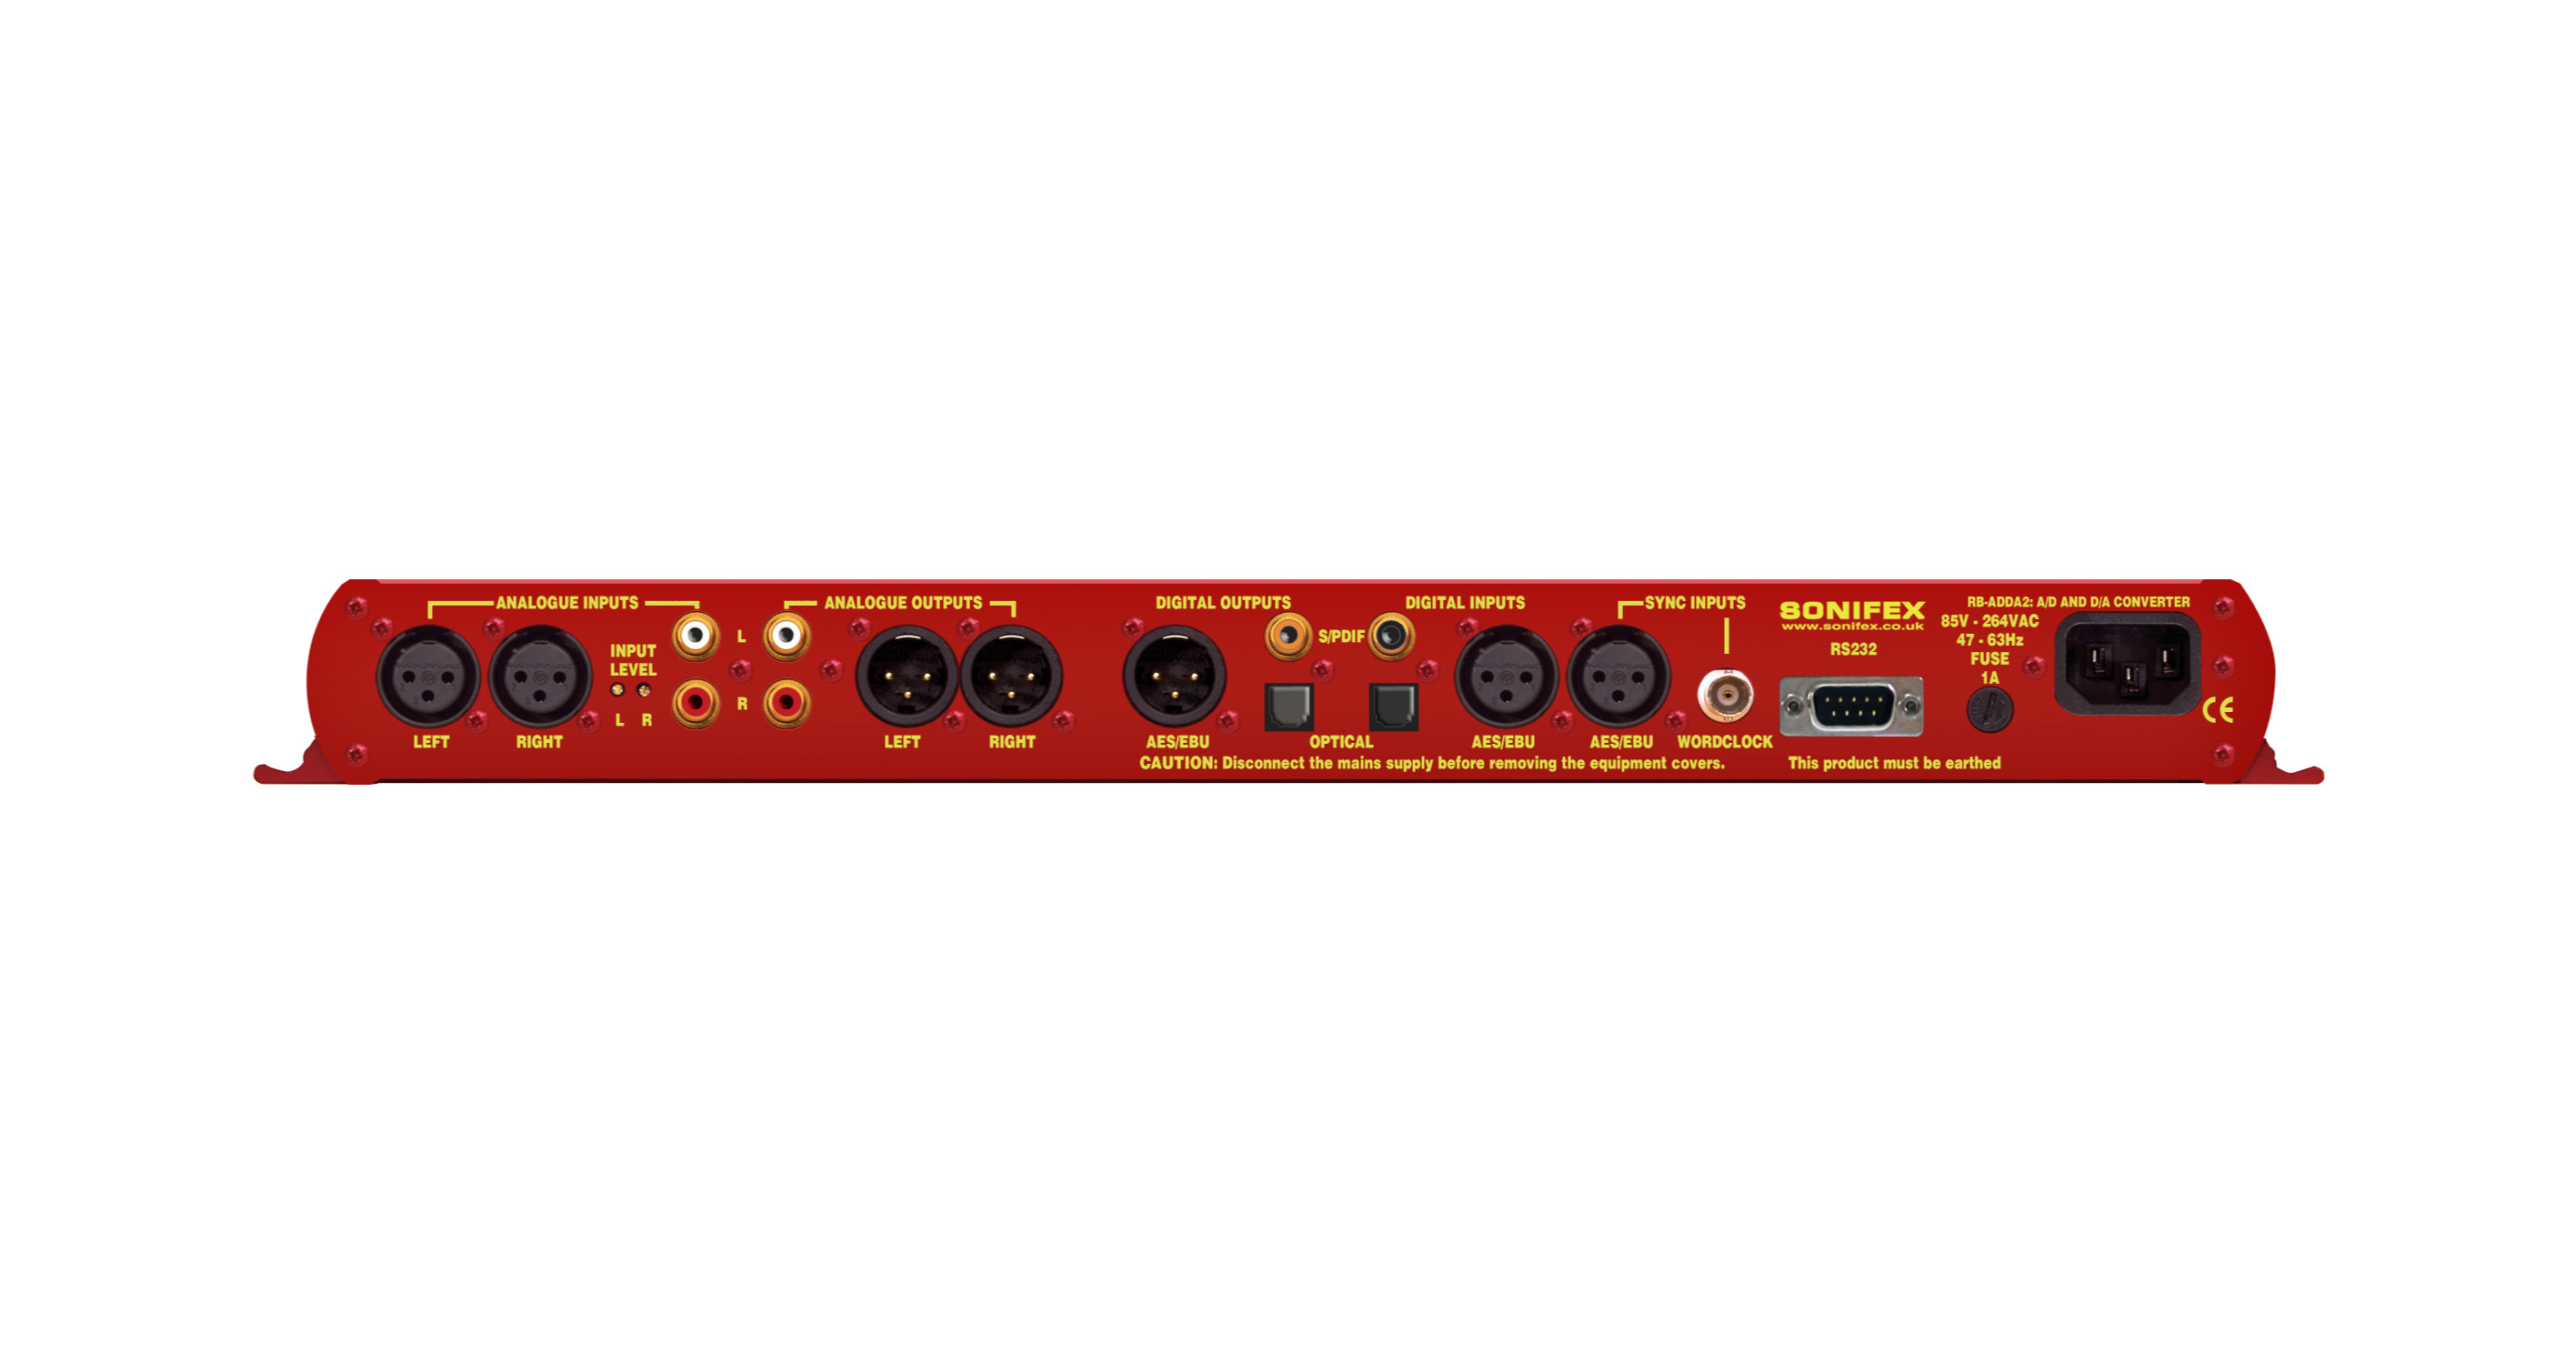
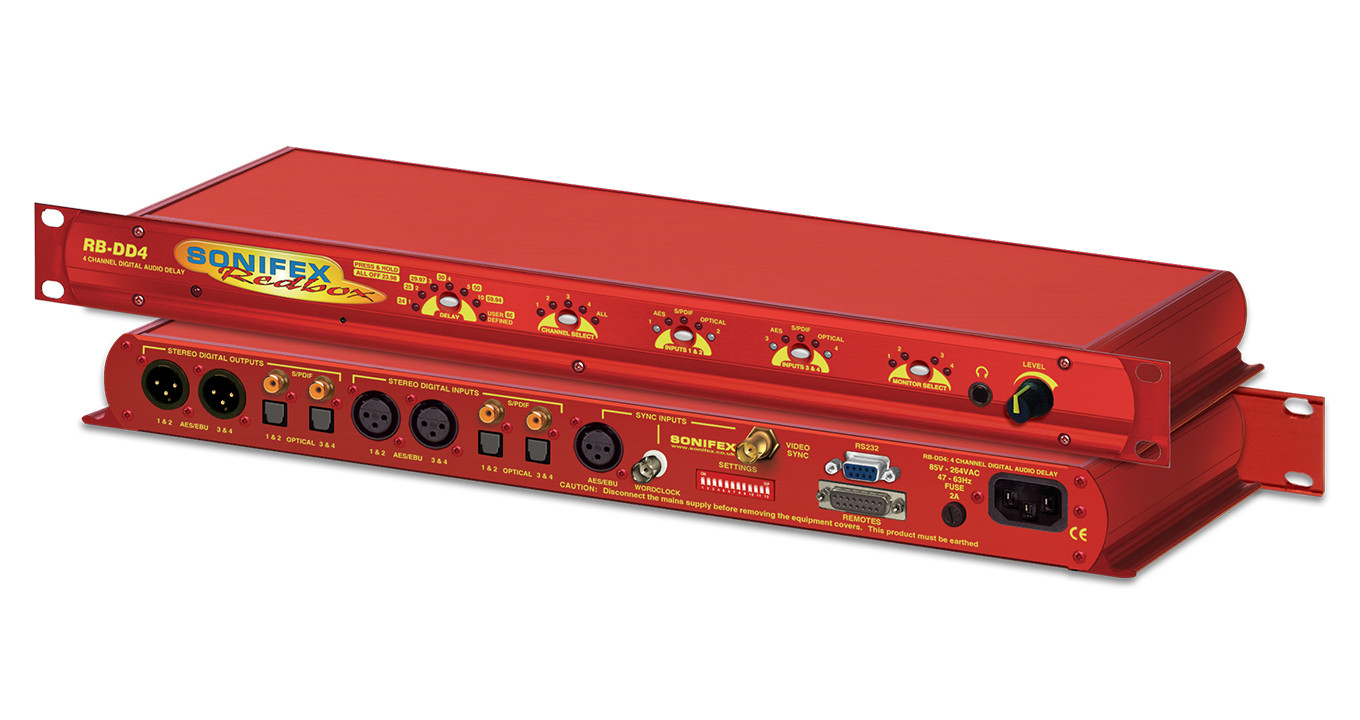
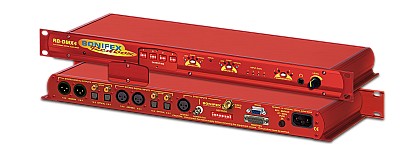
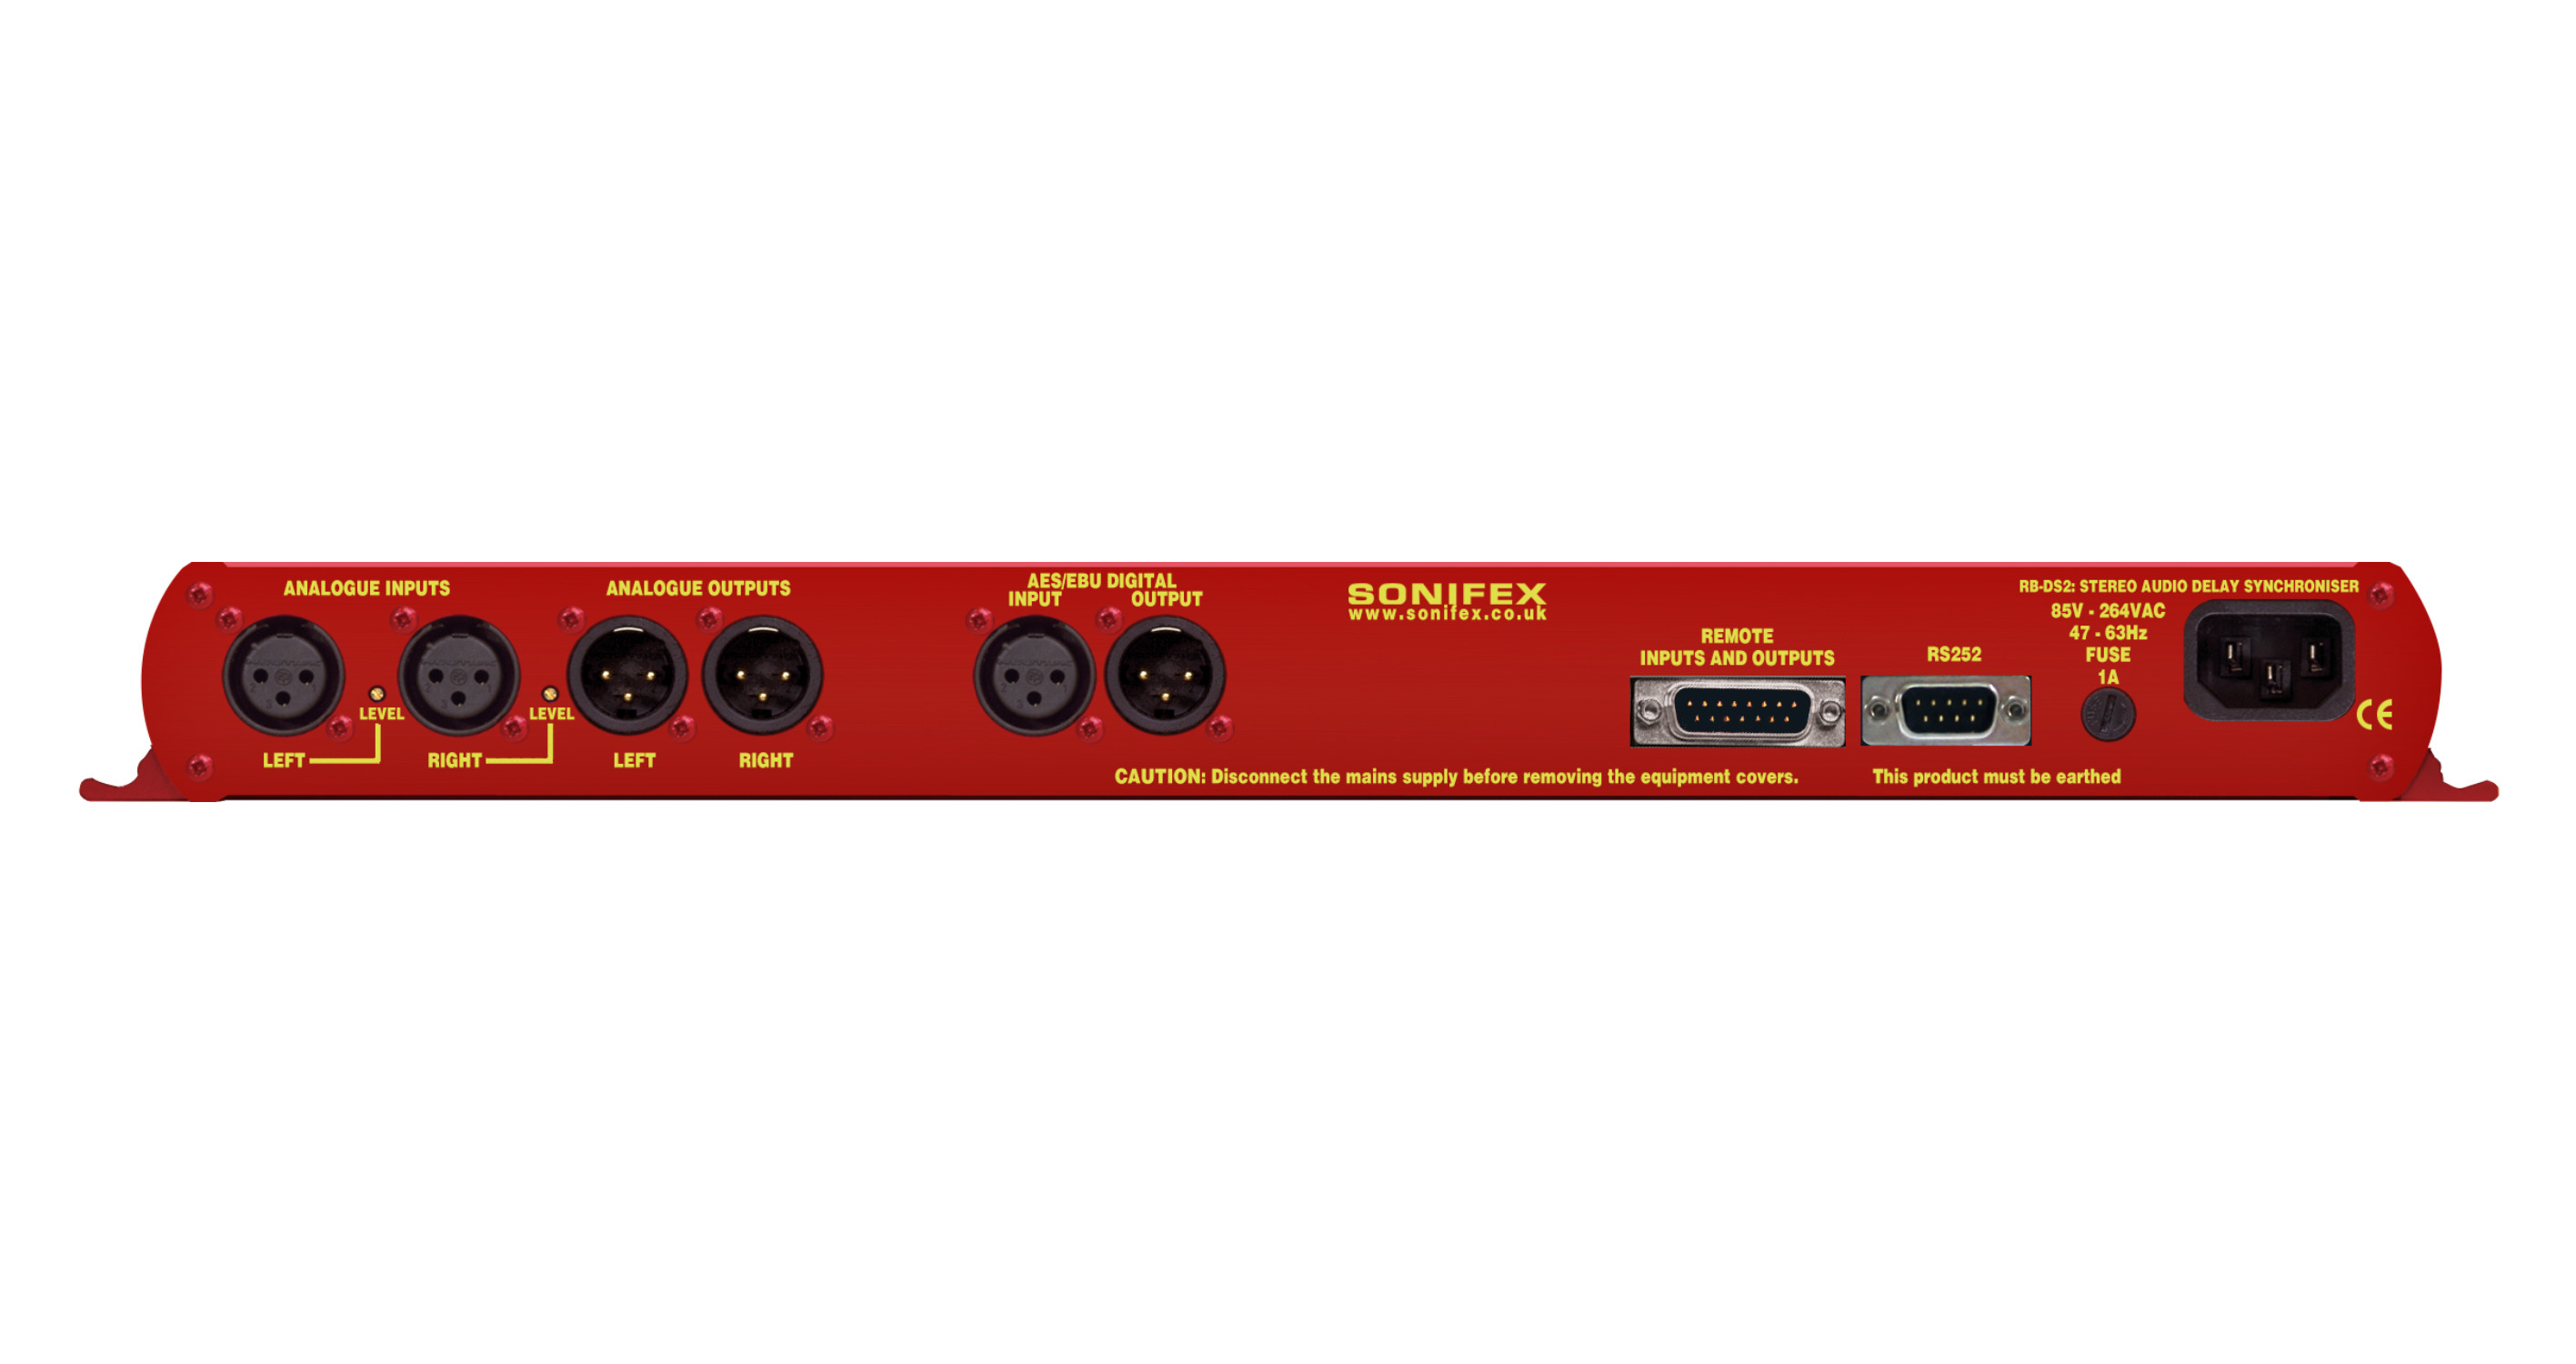
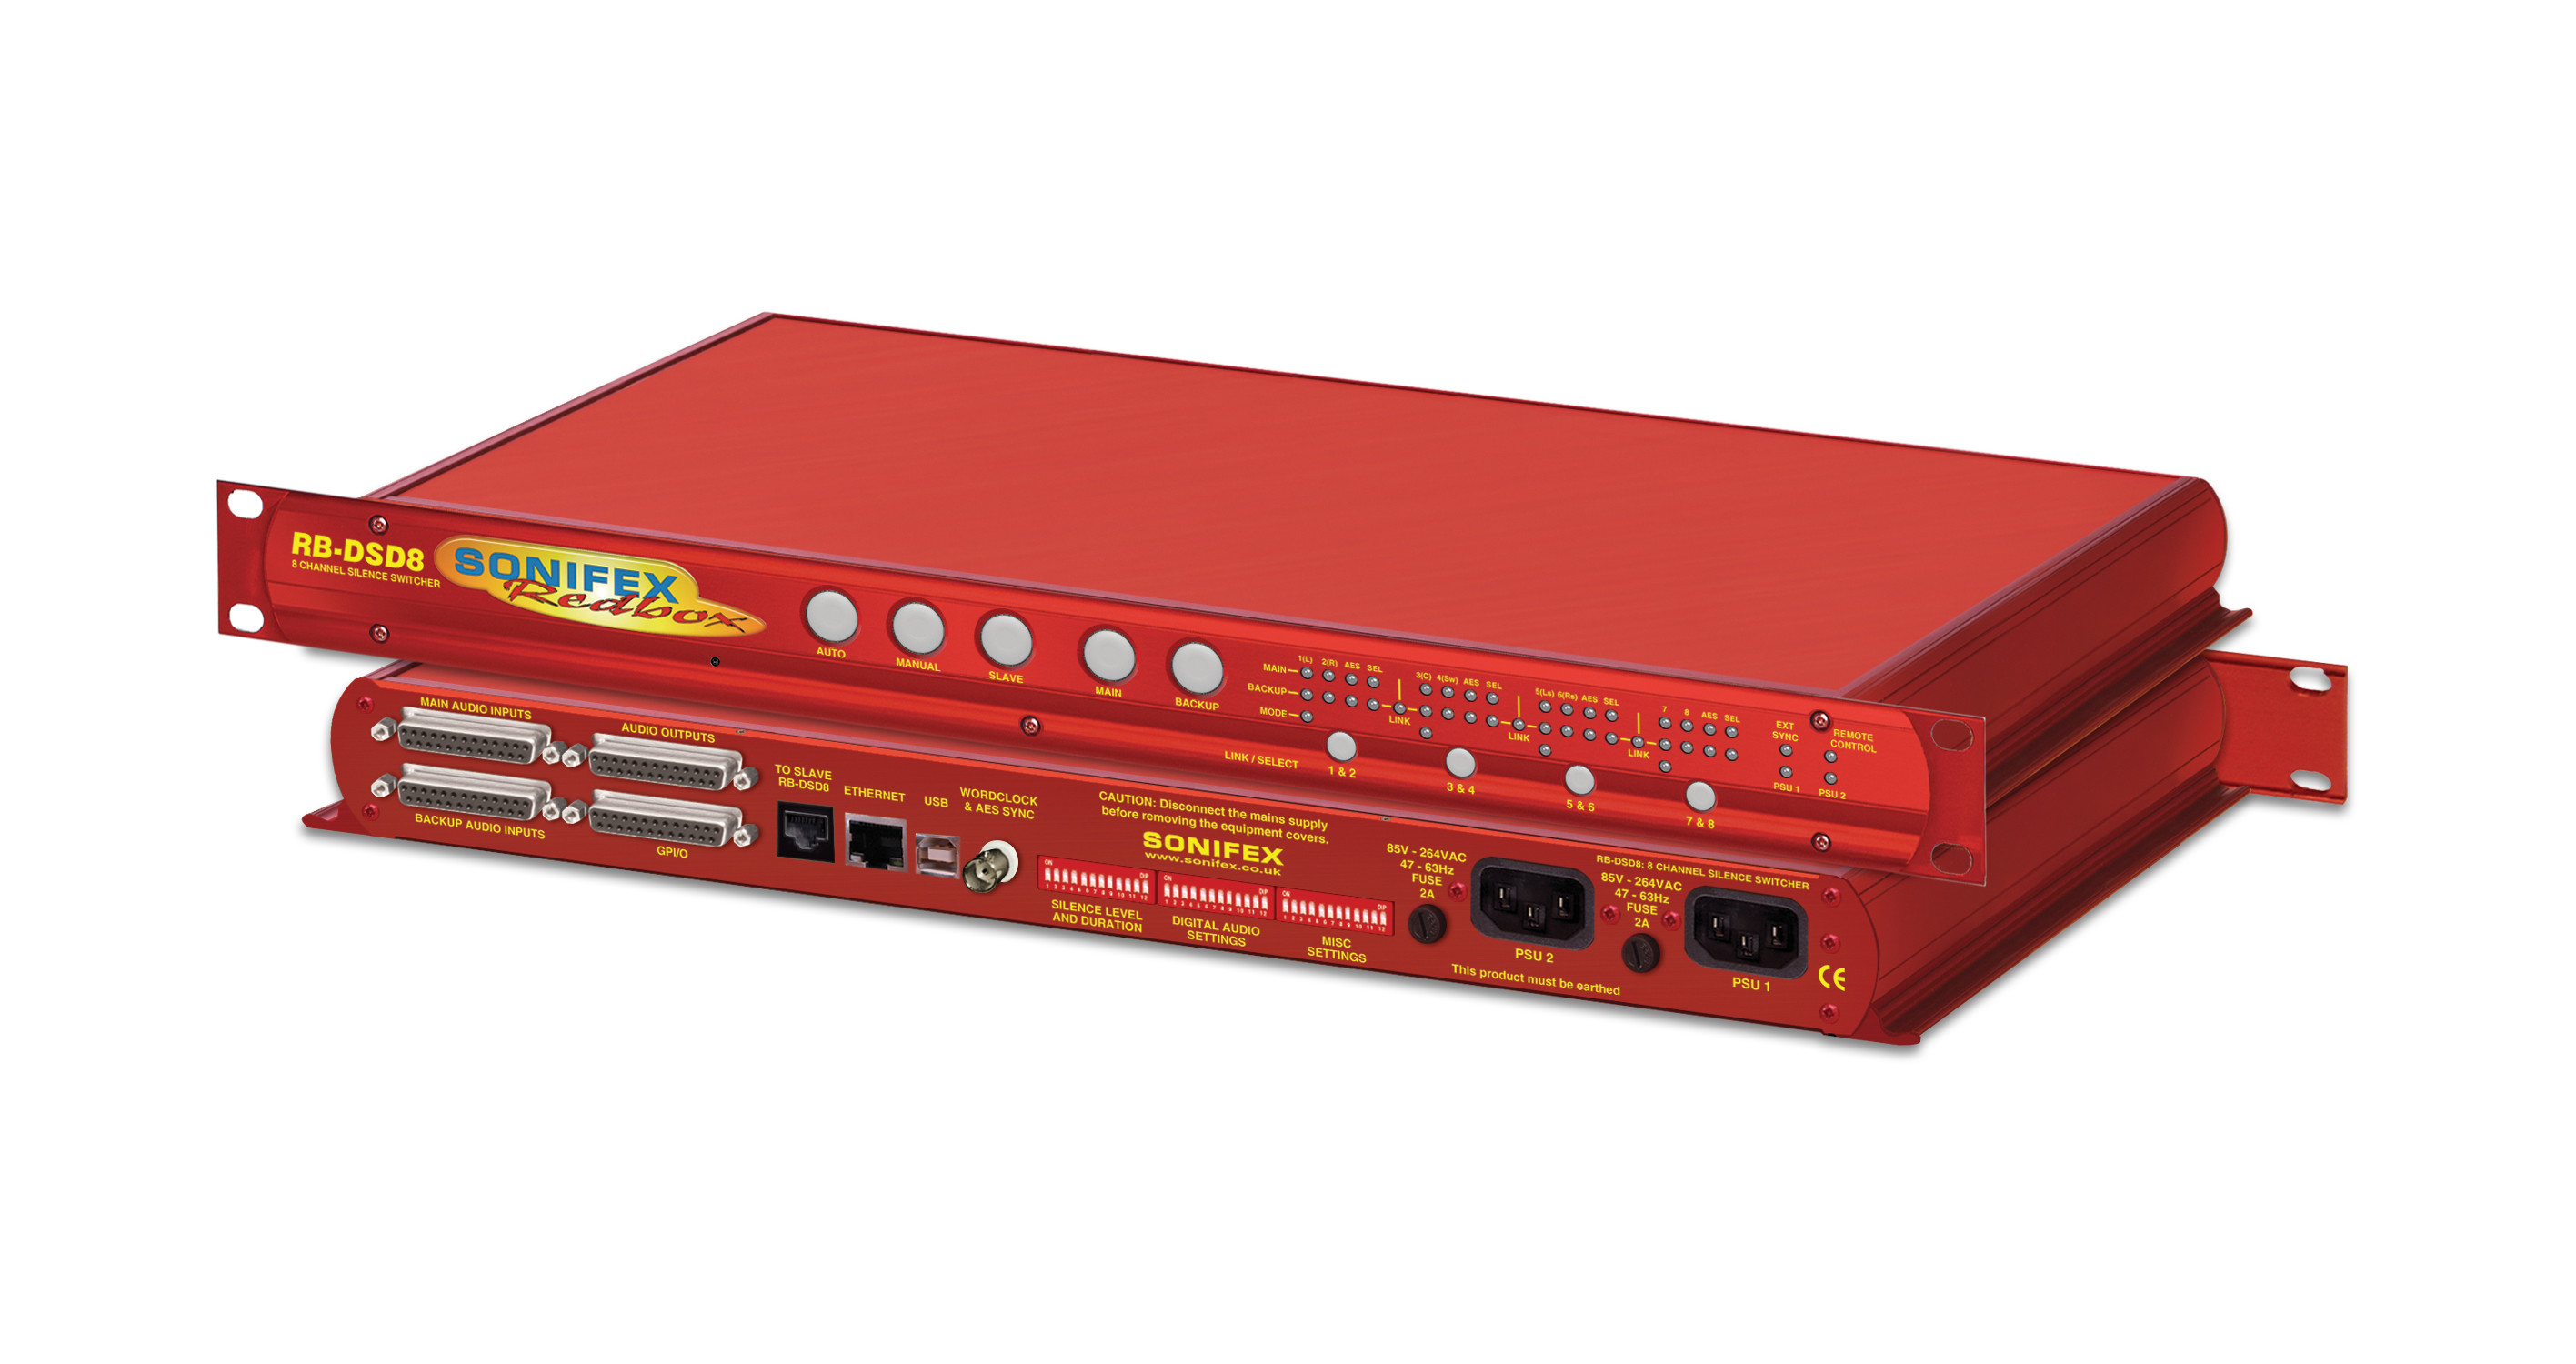
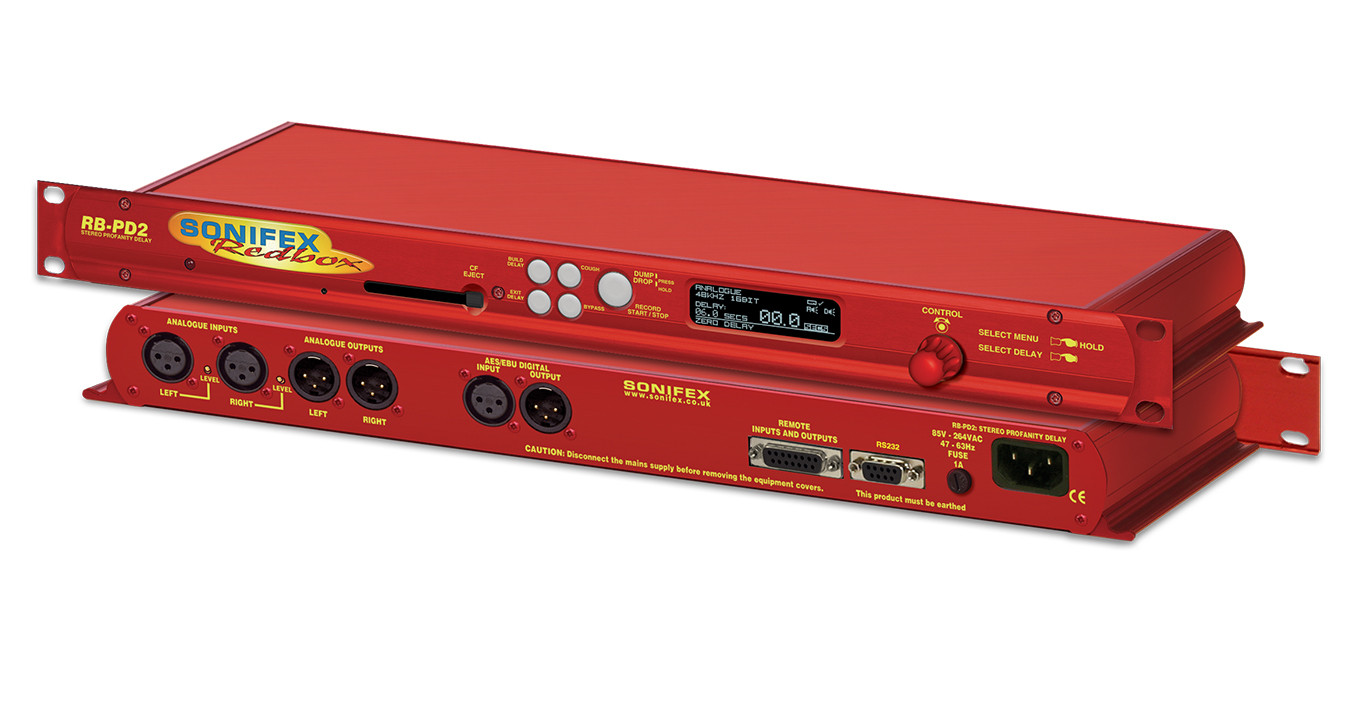
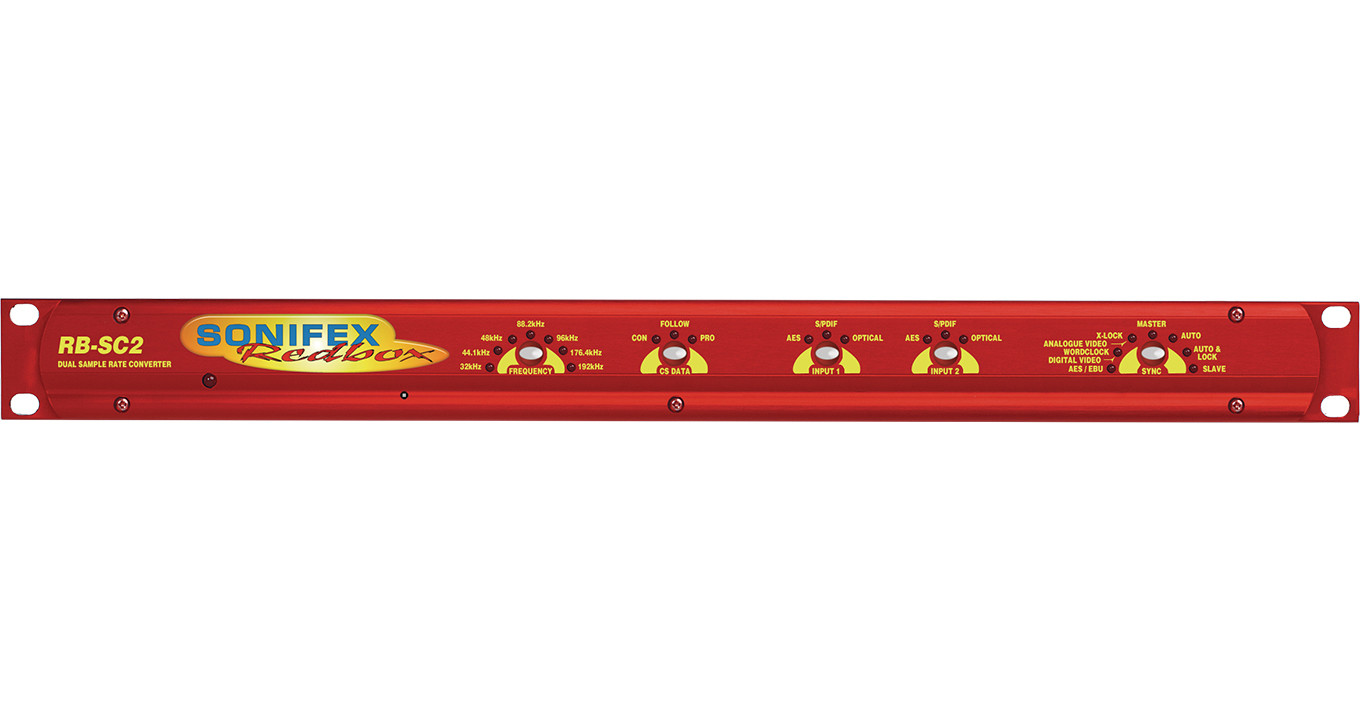
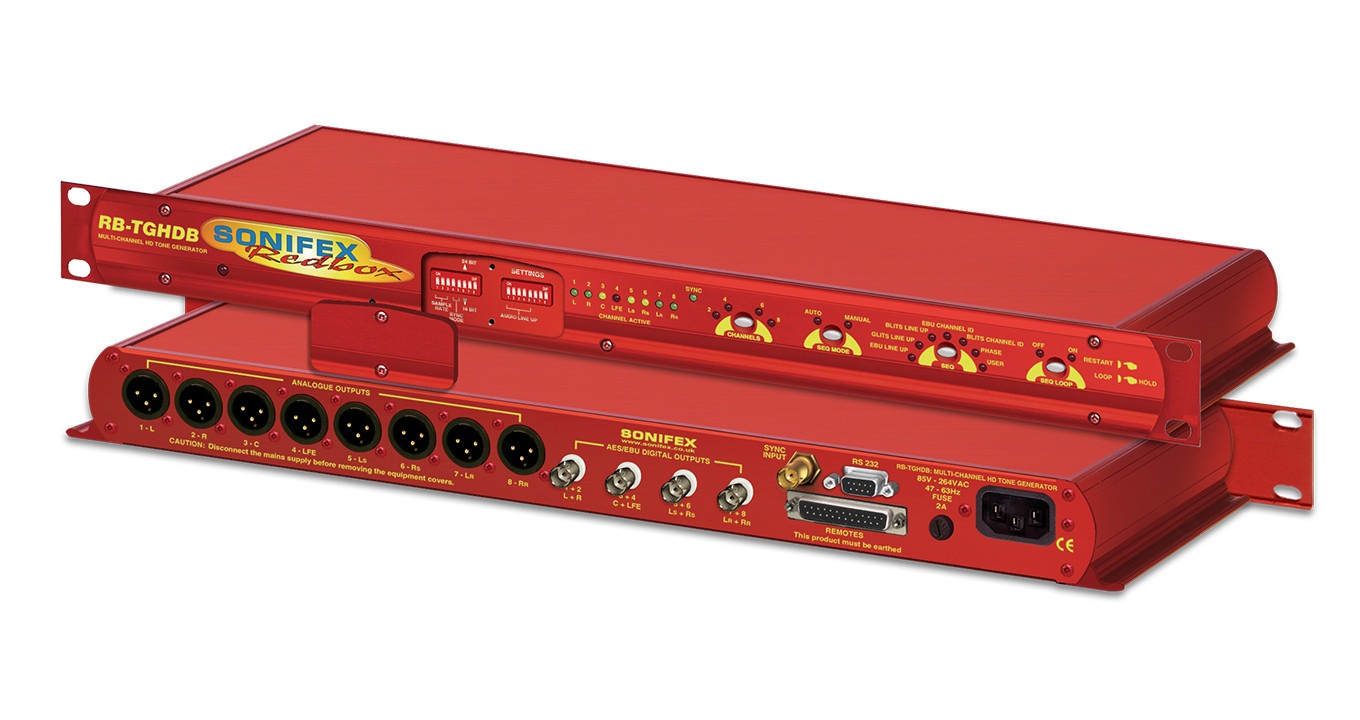
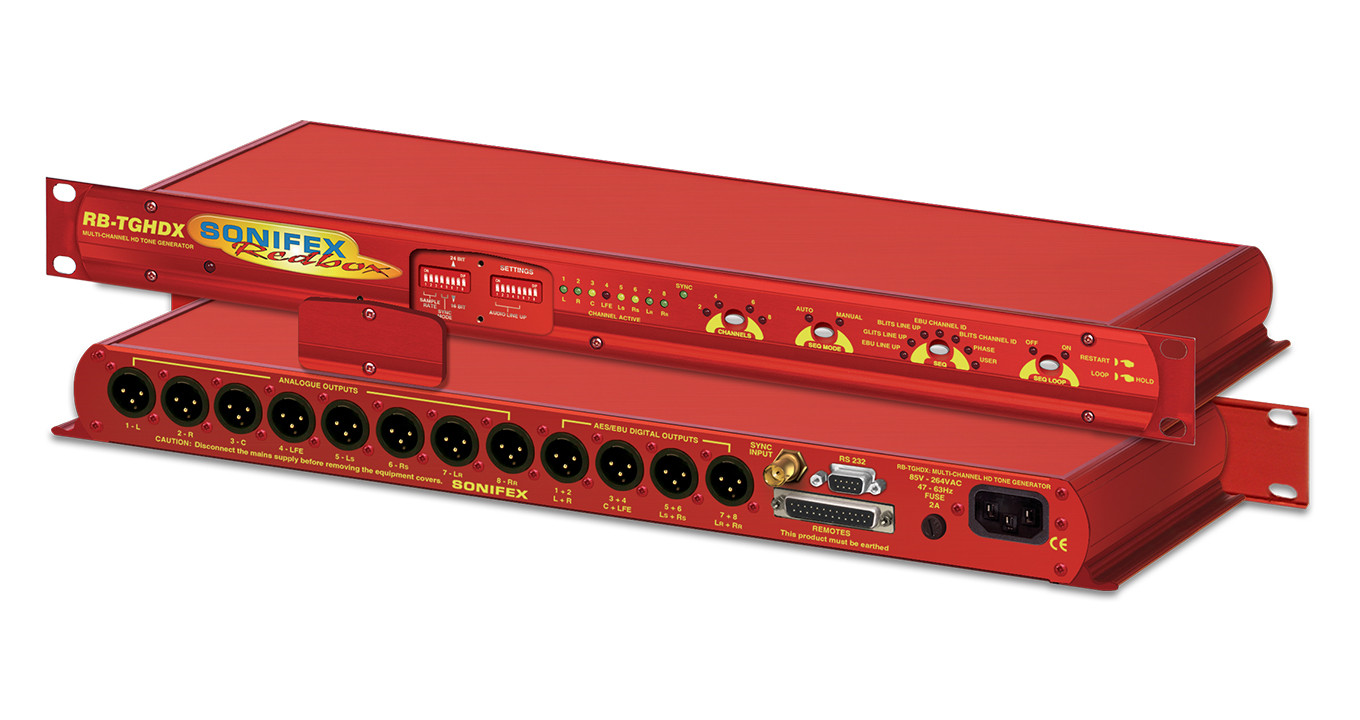
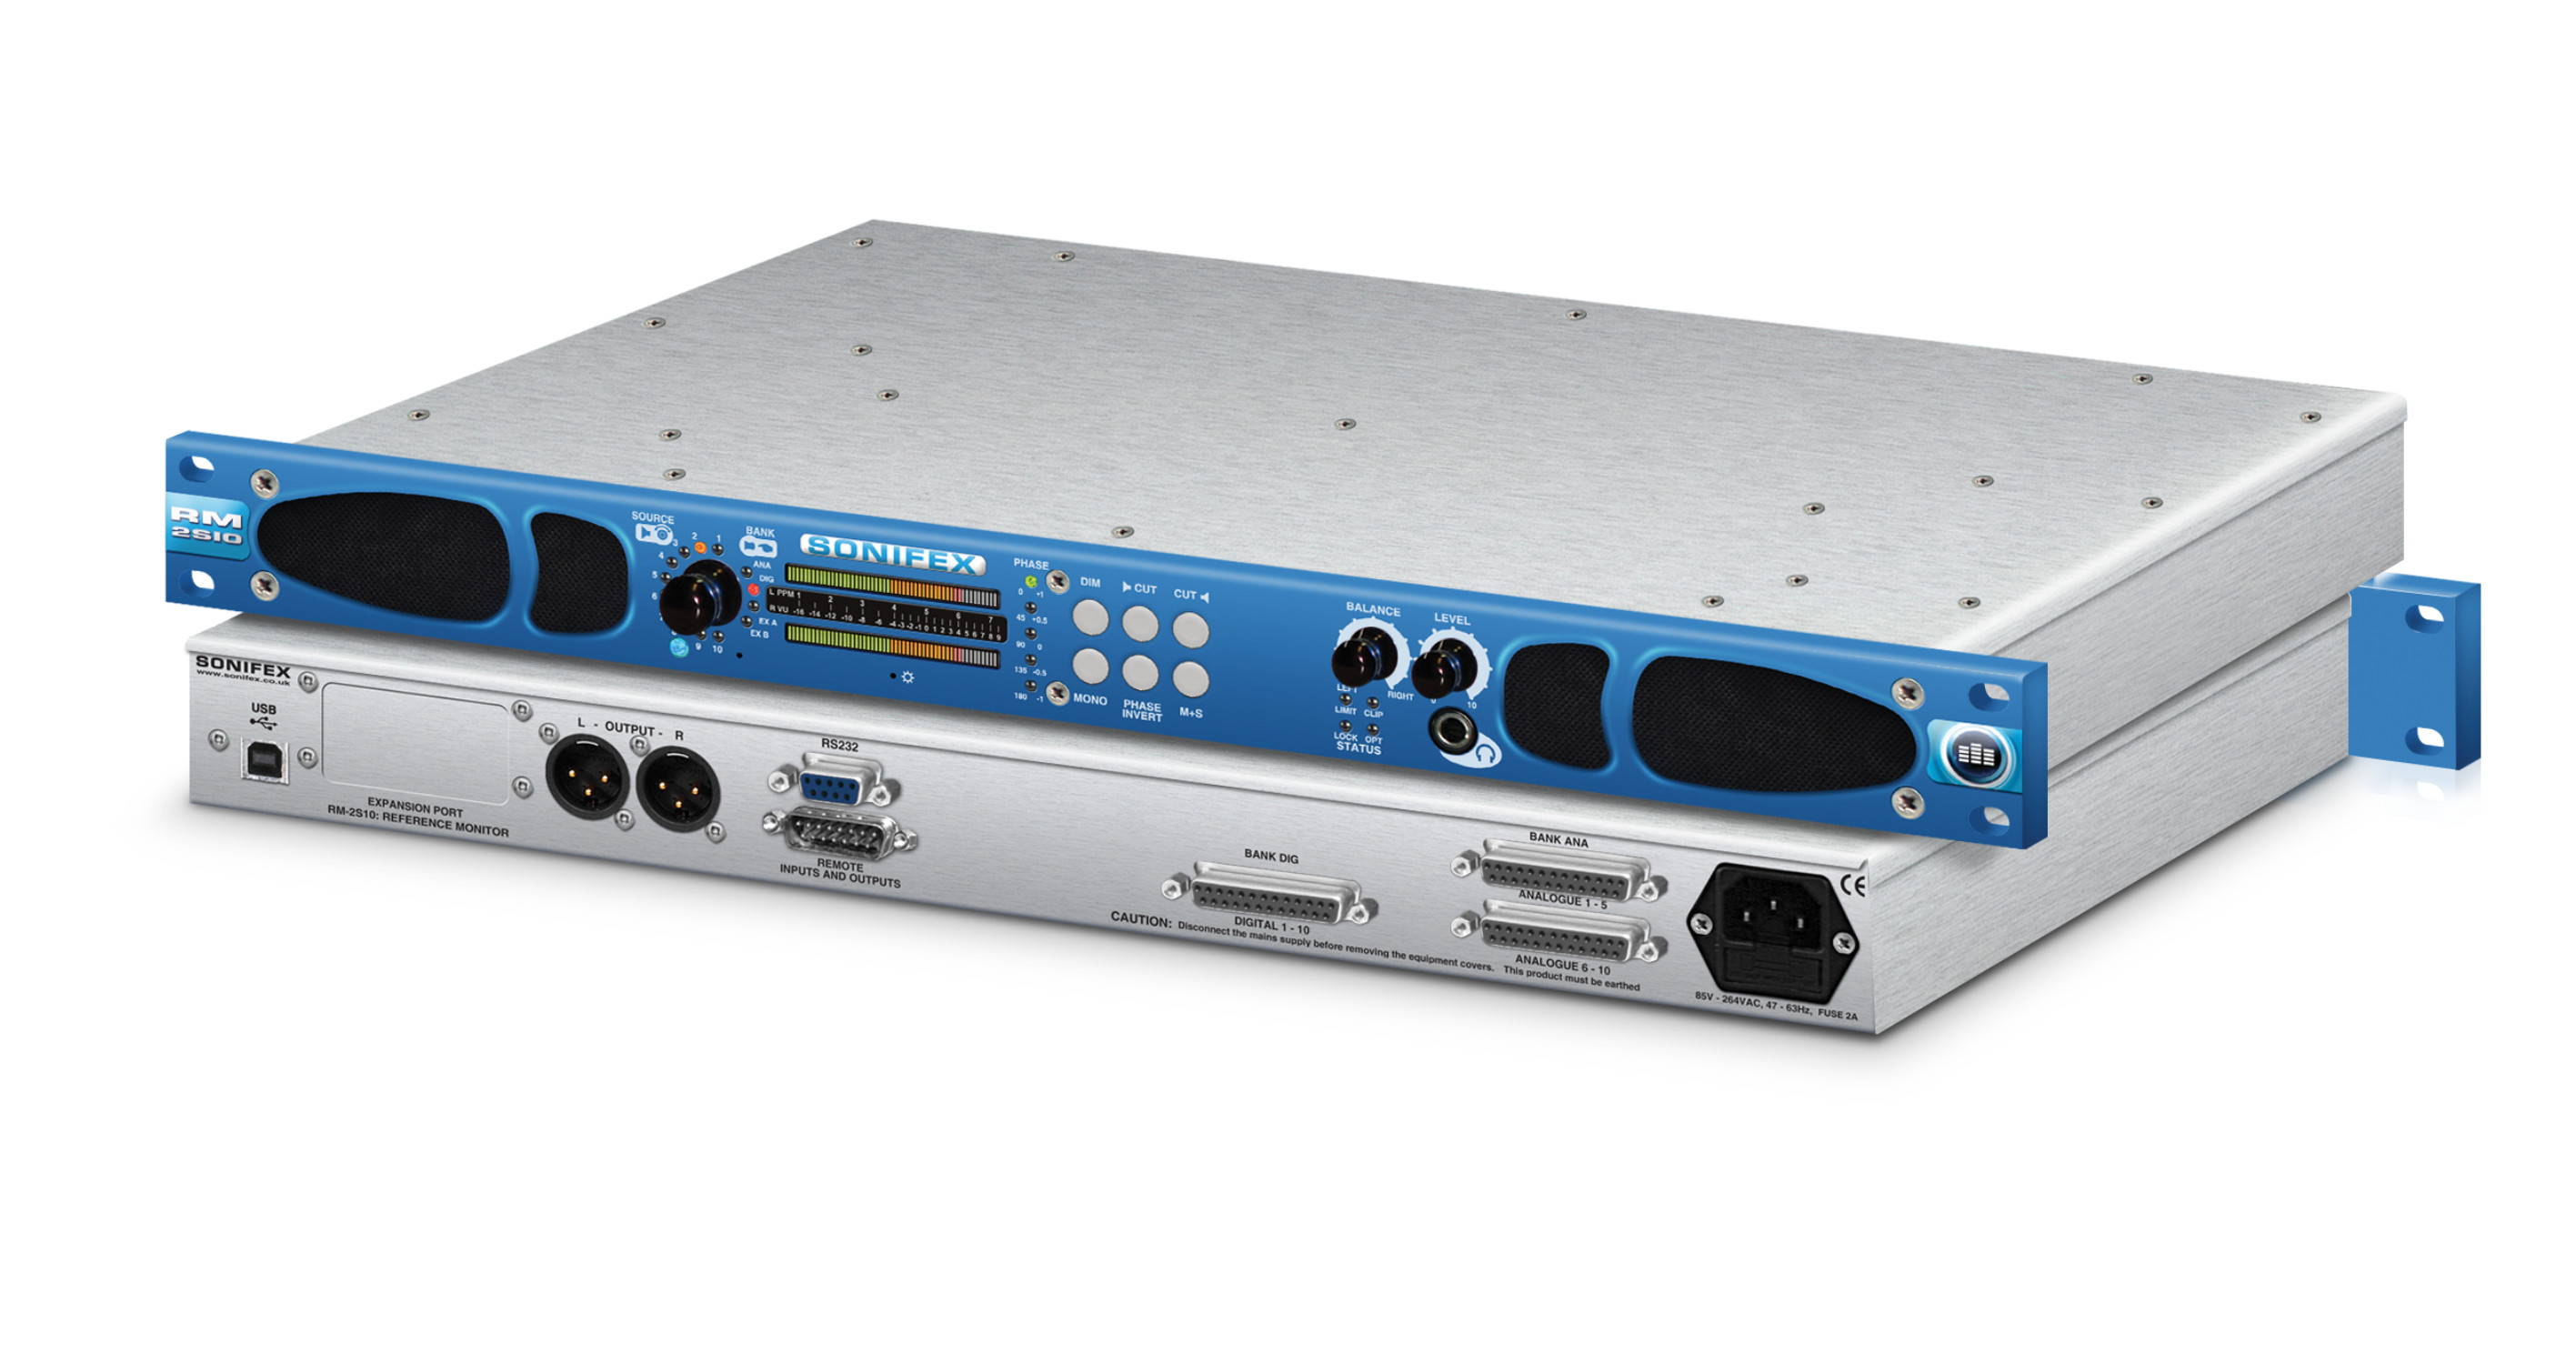
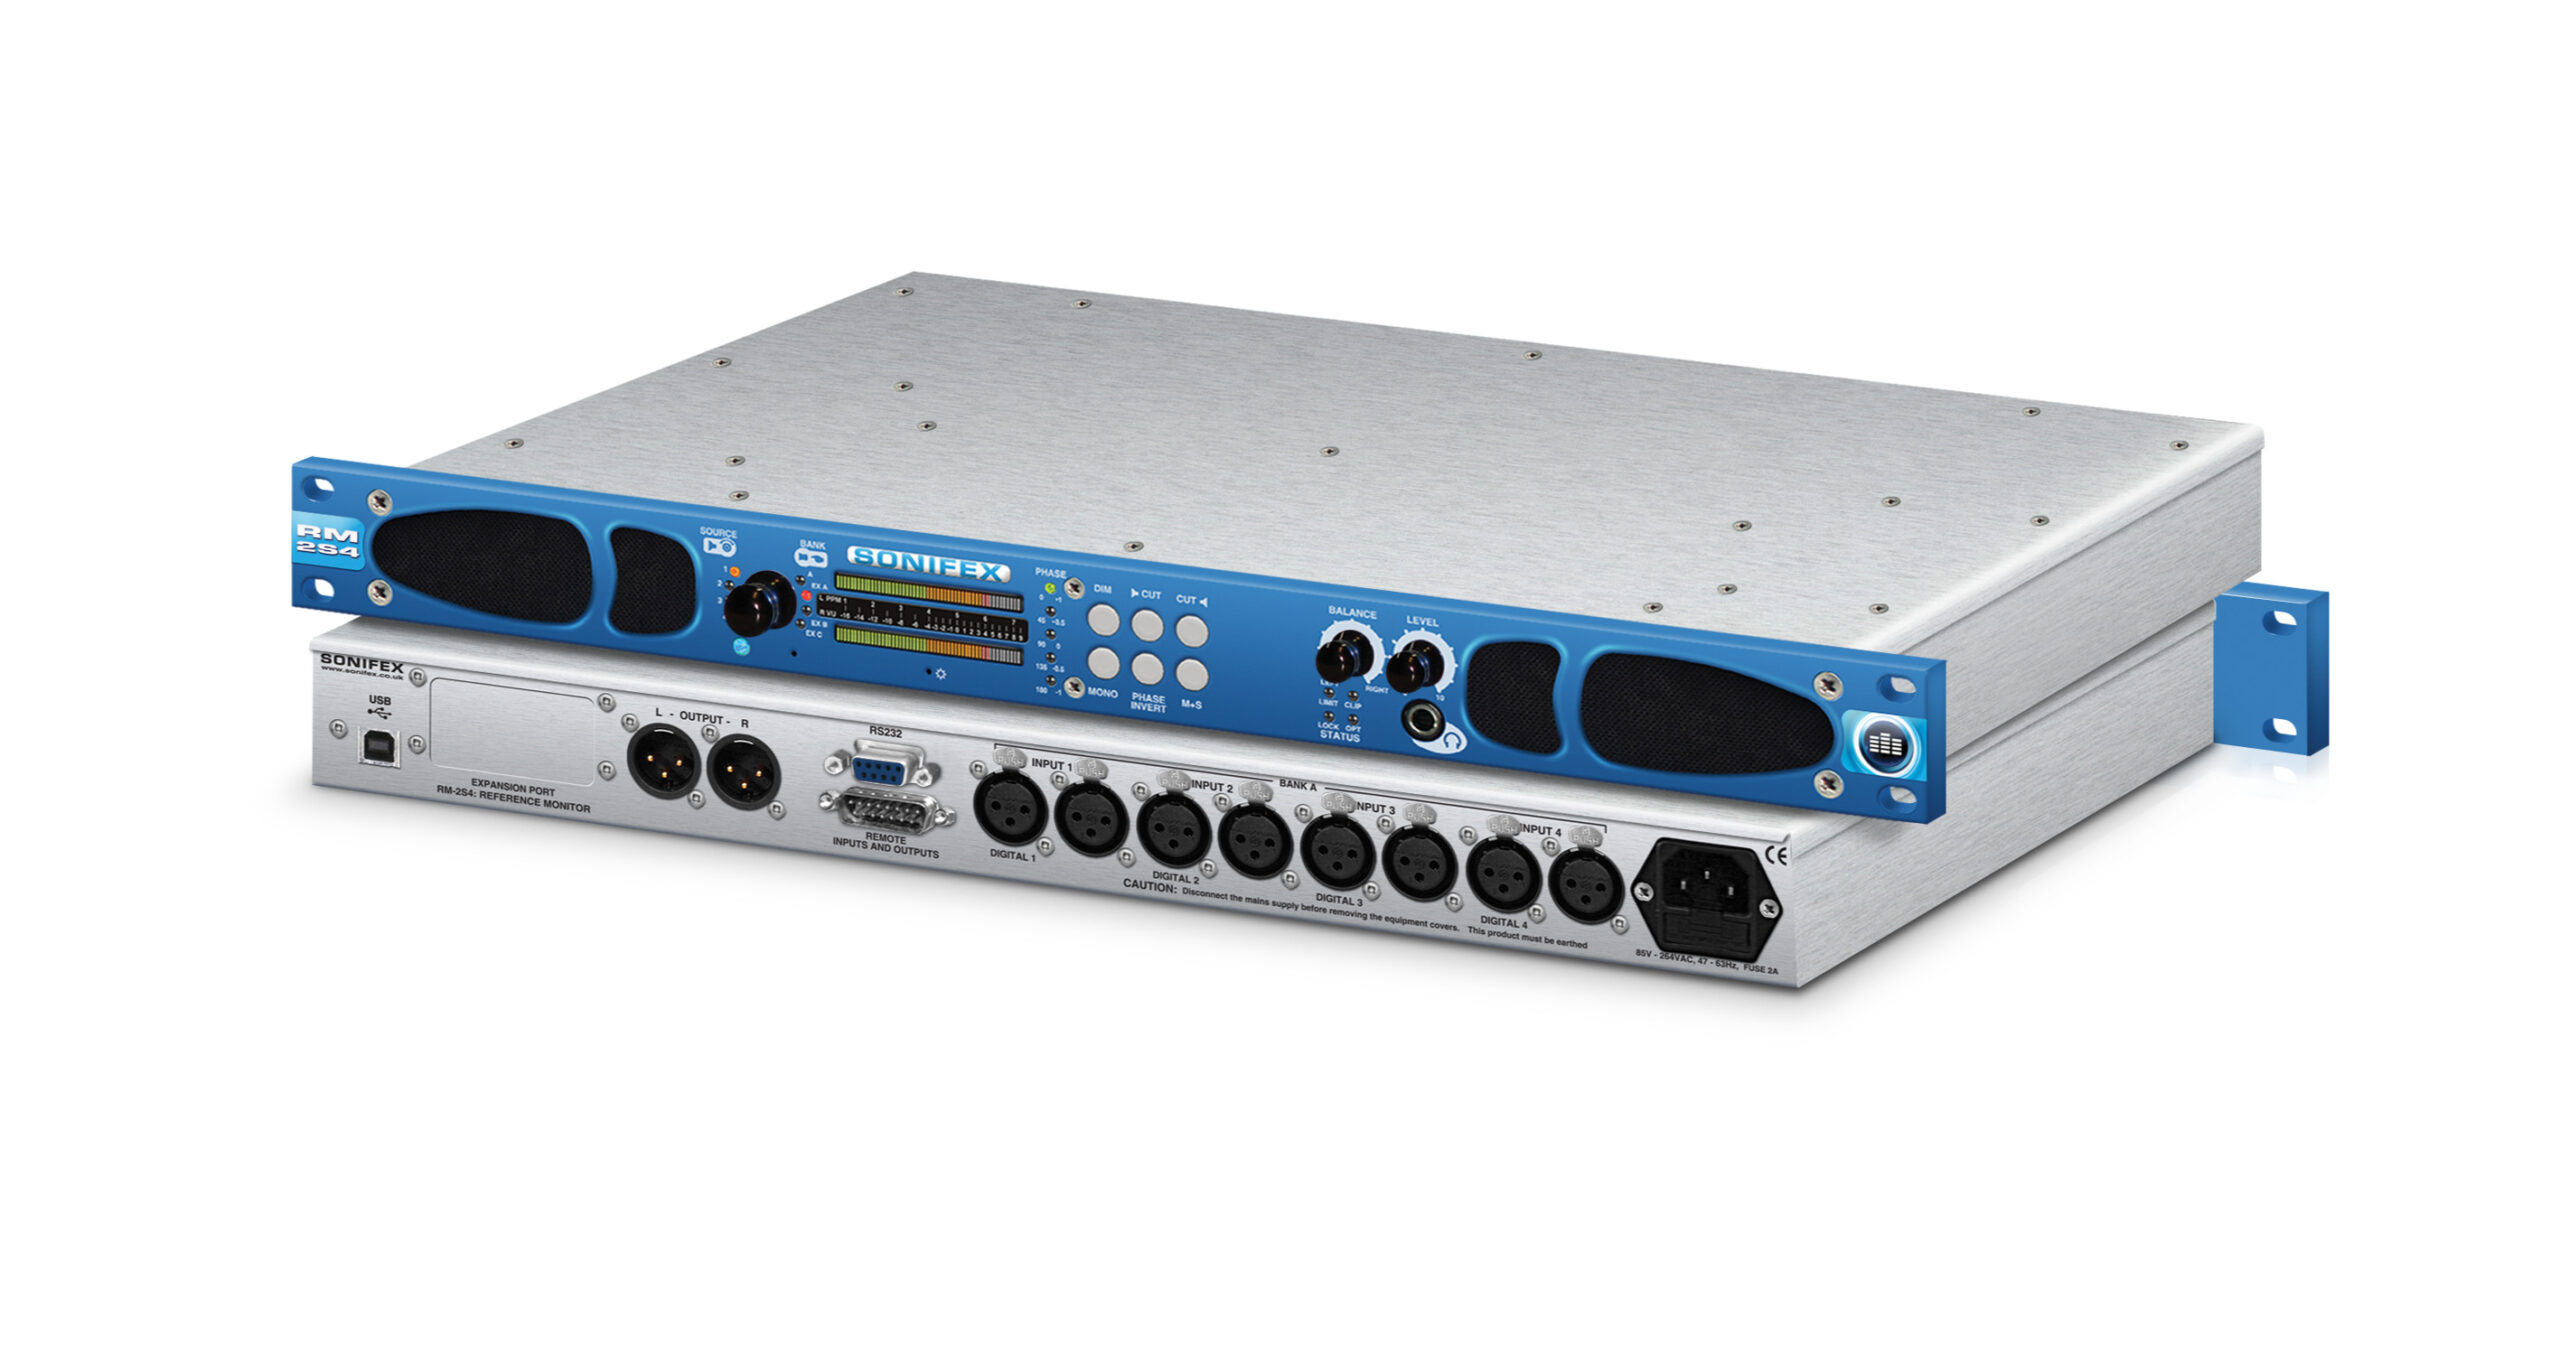
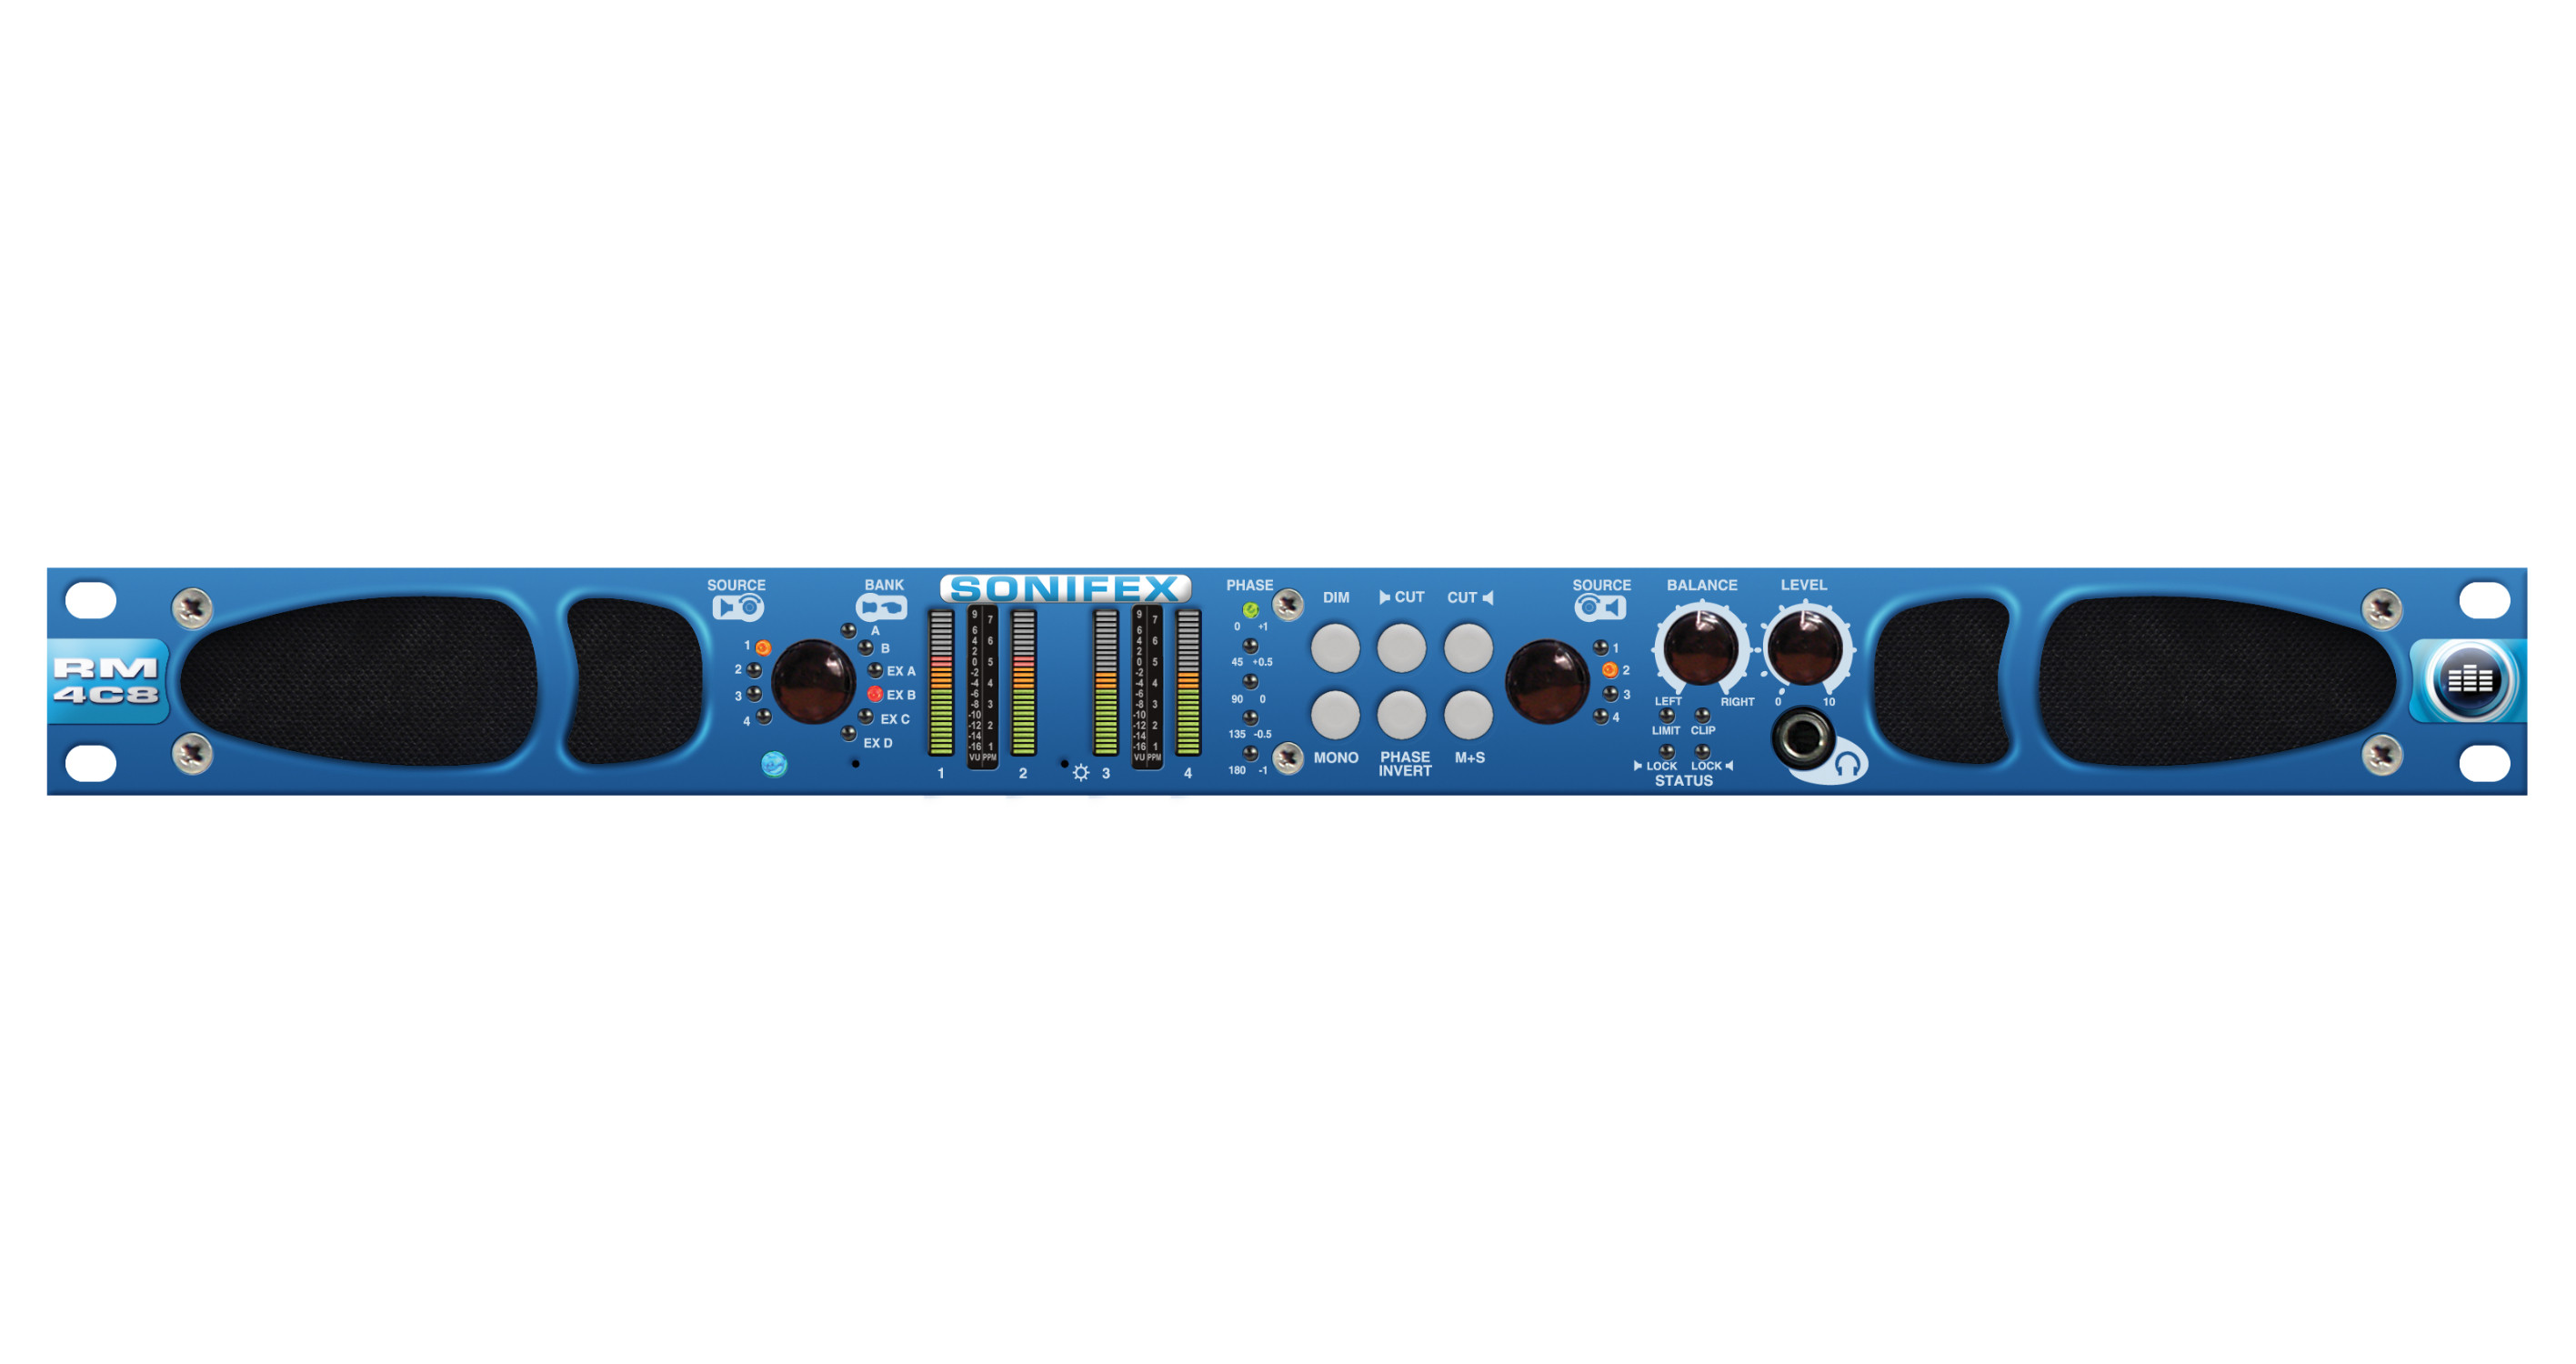
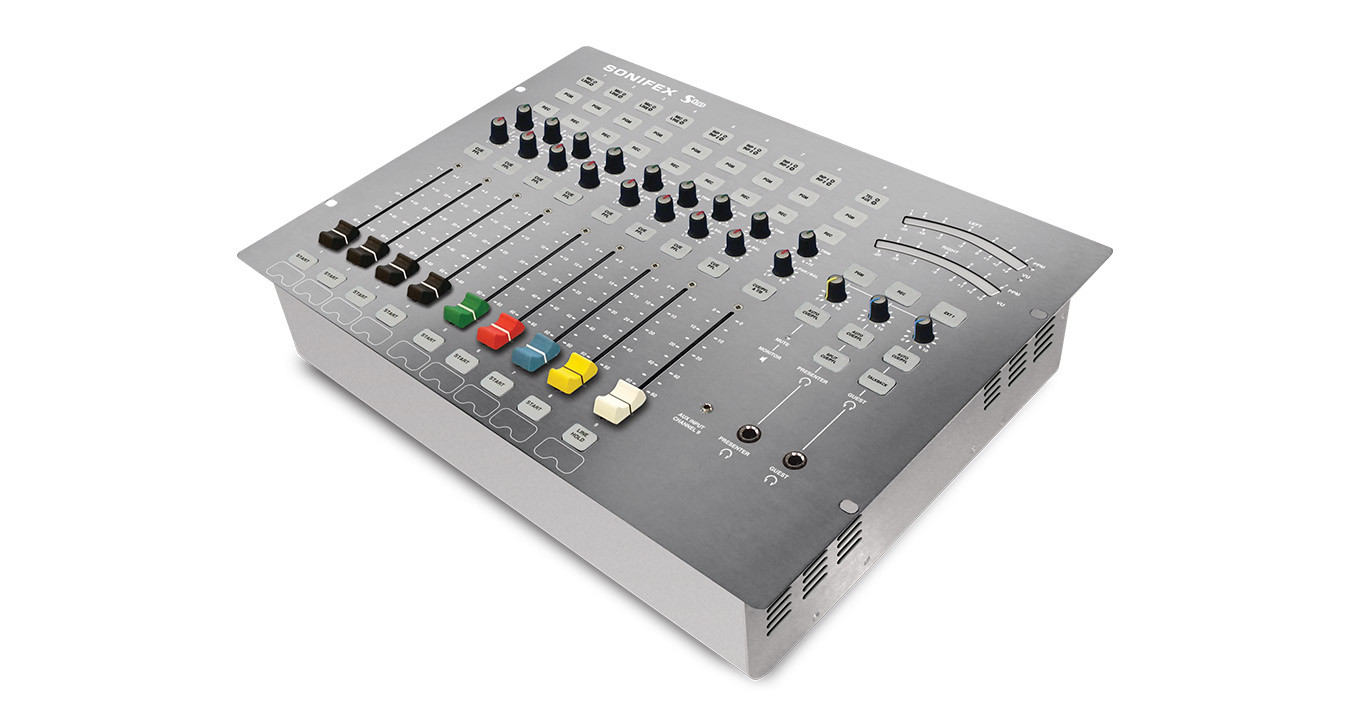
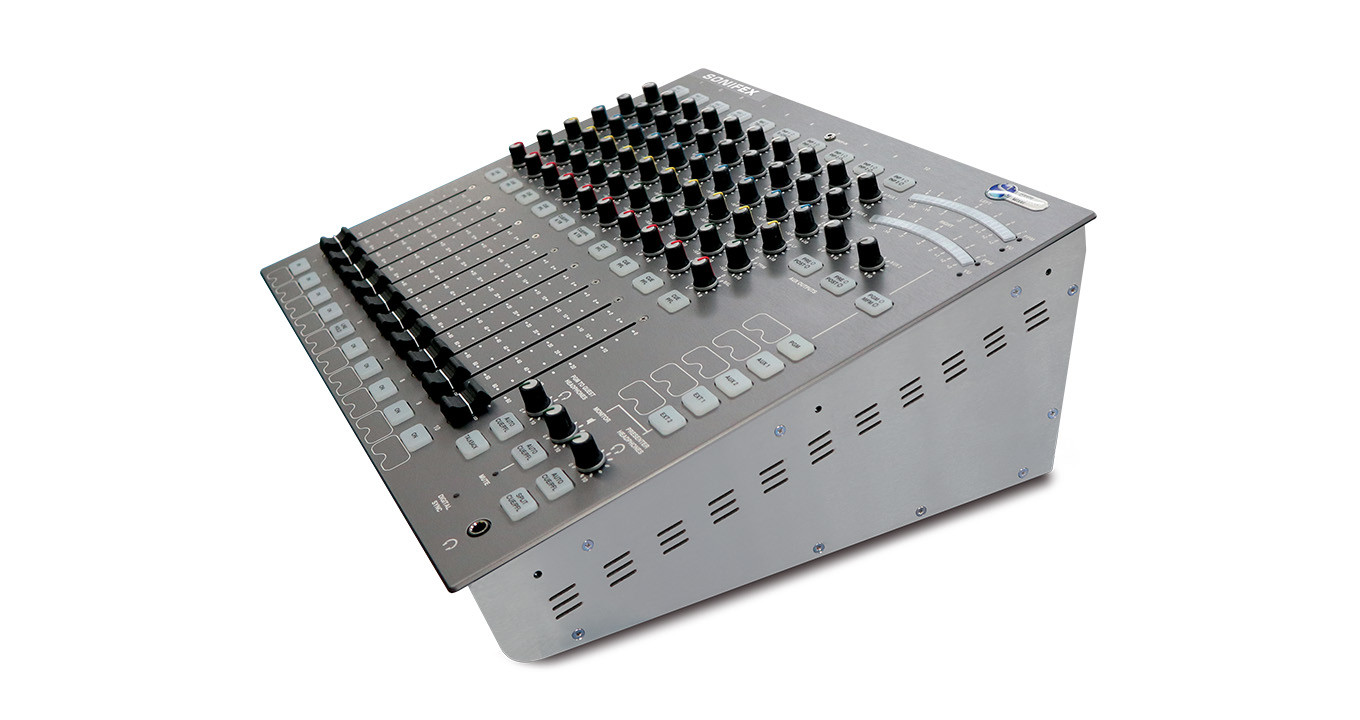
A comprehensive set of drivers is included, ensuring compatibility with a wide range of supported hardware models, including DHY-03, DHY-03EC, RB-ADDA2, RB-SC2, RB-DS2, RB-PD2, RB-DD4, RB-DSD1, RB-DSD8, RB-VHDDD8, RB-VHEDD8, RB-DEDD8, RB-DEED8, RB-DMX4, RB-TGHDB, RB-TGHDX, S0, S1, RM-4C8, RM-2S4, and RM-2S10.
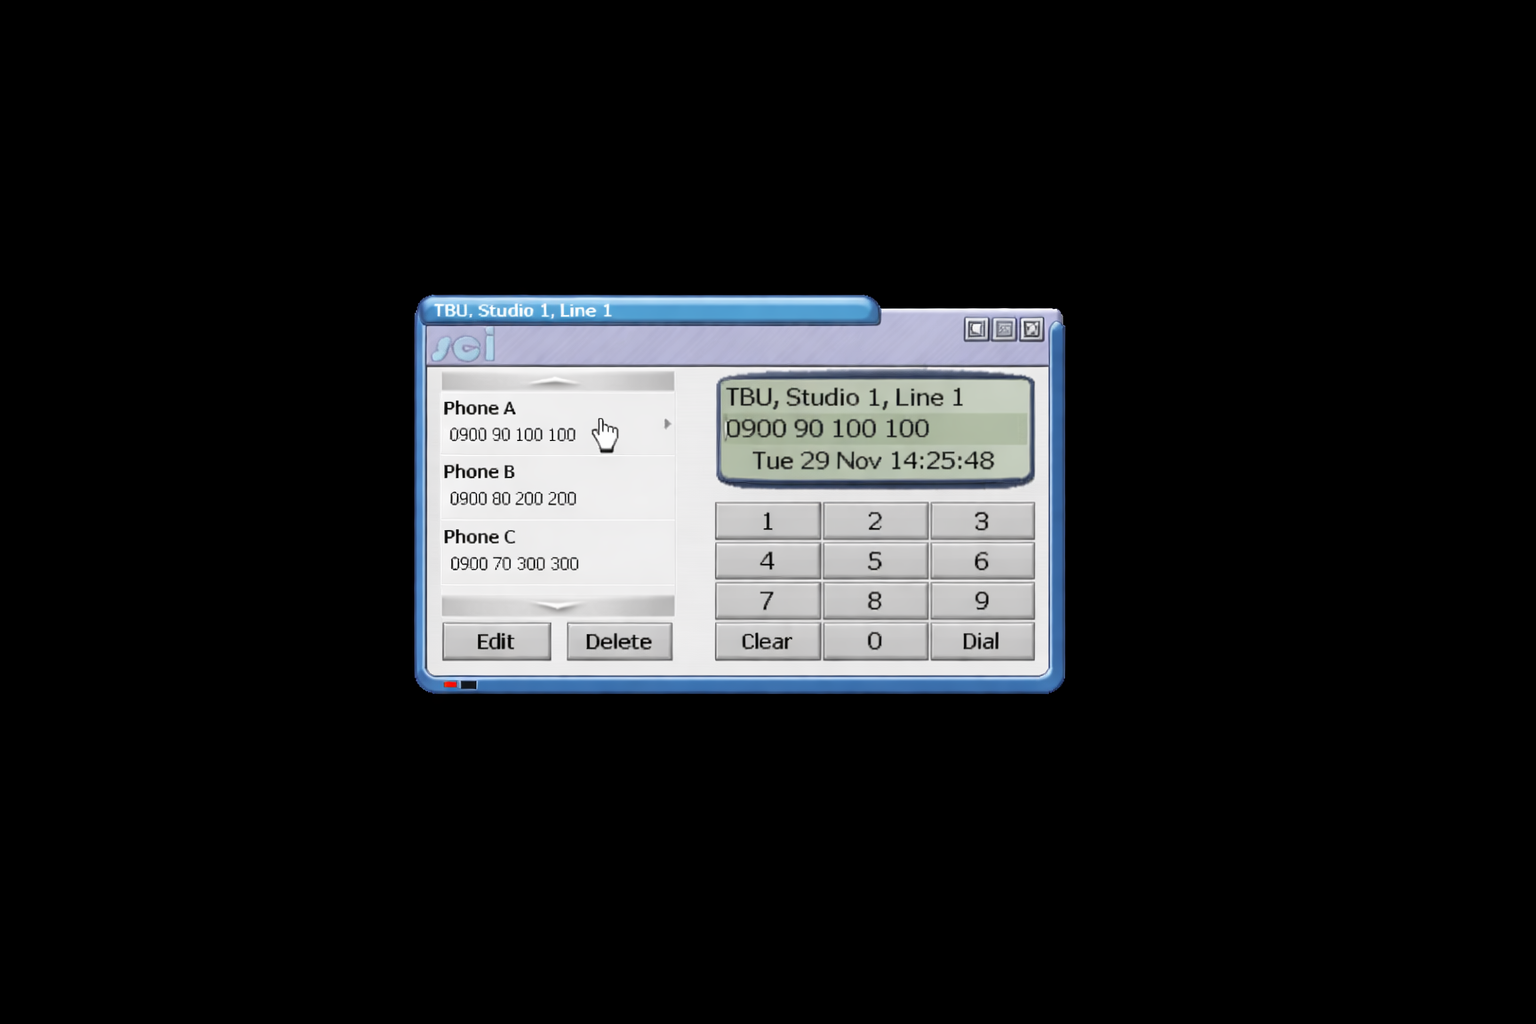
The built-in Launcher provides a clear, centralised interface for accessing all available devices. From this screen, users can quickly view connected devices and open individual control windows with a single click.
Devices are organised through the Device List, which serves as the hub for managing connections. Users can easily add new devices, edit existing configurations, or remove devices as needed. This ensures your system remains up to date and tailored to your setup.
Controlling your devices is straightforward:
-
Use the UP and DOWN controls to navigate through the list of available devices
-
Select a device to open its dedicated control window
-
Operate and configure the device remotely through its interface
Each device window provides direct access to its specific controls.
The Device List window is where all device connections are defined and maintained. It offers full control over your device ecosystem, enabling you to:
-
Add new devices
-
Edit connection details
-
Remove devices no longer in use
This structured approach ensures efficient management, even in multi-device environments.
Instructions
-
Press the ‘+’ button on the Launcher window.
-
Use the ‘Discover Devices’ function or manually define devices using ‘Edit->New Device’.
-
Give meaningful descriptions to each device by selecting ‘Edit->Edit Device’ from the menu.
-
Select ‘File->Save’ from the menu.
-
Close the Device List window to re-display the Launcher.
Product Features
Used to remotely configure and control devices via RS-232 or TCP/IP.
Multiple devices can be connected simultaneously.
Includes drivers to control DHY-03, DHY-03EC, RB-ADDA2, RB-SC2, RB-DS2, RB-PD2, RB-DD4, RB-DSD1, RB-DSD8, RB-VHDDD8, RB-VHEDD8, RB-DEDD8, RB-DEED8, RB-DMX4, RB-TGHDB, RB-TGHDX, S0, S1, RM-4C8, RM-2S4 and RM-2S10.
Typical Applications
Product Category
SCi 2 (RS-232 or TCP/IP)TECHNICAL SPECIFICATIONS
SUPPORT
Brochures
| Click to visit the brochures page. |
Declarations
| Click to visit the declarations page. |
| SCi Full Installation (install as an administrator) | Version | 2.0.12 | Date | 18/12/2015 | [Download] | |
| SCi 2 - Desktop Monitor Installation (install as an administrator) | Version | 2.0.10 | Date | 24/06/2013 | [Download] |
| SCi 2 FAQ | [Download] | |
| SCi 2 Software release notes | [Download] |